Introduction
In every home, furniture plays a significant role in enhancing the aesthetic appeal. Among these pieces, Wooden Side Tables hold a special place due to their timeless charm and versatility. These small yet functional additions can bring warmth and elegance to any living space. This comprehensive guide will provide you with valuable insights on how to revive your wooden side table, breathe new life into it, and transform it into a true statement piece.
II. Assessing Your Wooden Side Table
A. Understanding the Current State
Identifying Wear and Tear
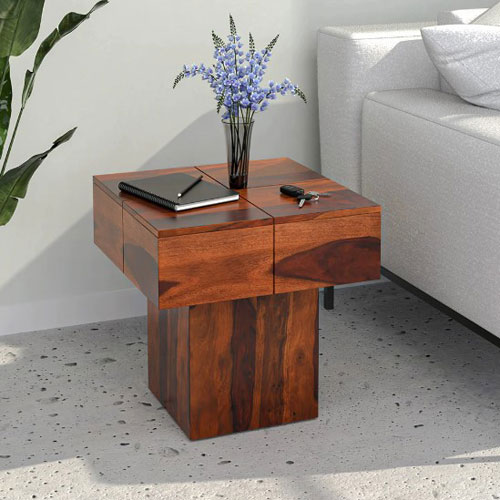
To effectively revive your wooden Side Table, it is crucial to carefully evaluate its current condition. Look for signs of wear and tear, such as scratches, dents, or peeling finishes. Examining these imperfections will help you determine the necessary course of action.
Determining the Level of Damage
Assessing the level of damage is essential to formulating an appropriate plan. Is the damage superficial, or does it require extensive restoration? Understanding the severity will allow you to allocate the right resources and efforts towards the makeover process.
Analyzing the Wood type and Finishing
Each wooden side table has its own unique characteristics. Identifying the type of wood and its existing finish will guide you in selecting suitable restoration techniques and finishes later on.
B. Choosing the Right Makeover Approach
Establishing a Budget
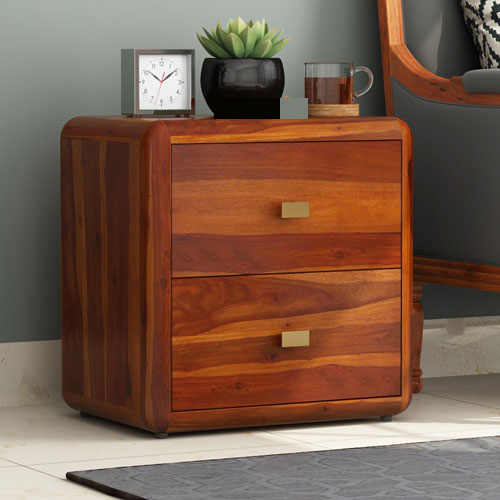
Before embarking on your side table makeover journey, it is crucial to set a realistic budget. Determine how much you are willing to invest in the project, including materials, tools, and any professional help you may require.
Considering Time Constraints
Evaluate the amount of time you can dedicate to the makeover process. Understanding your time limitations will help you decide between quick fixes and more extensive restoration techniques.
Deciding Between Restoration or Complete Transformation
Once you have assessed the current state of your side table, consider whether restoration or complete transformation is more suitable. Restoration focuses on maintaining the original character of the piece while addressing minor damages. On the other hand, complete transformation involves a more dramatic change in design and finish.
III. Restoration Techniques for Wooden Side Tables
A. Fixing Minor Damages
Repairing Scratches and Dents
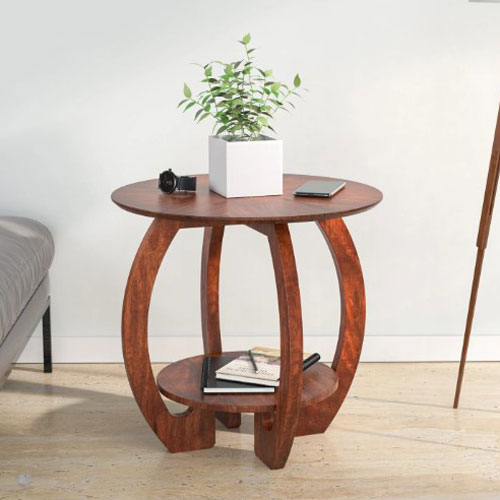
To restore your wooden side table, start by addressing superficial scratches and dents. Use wood fillers or putty to level the surface, then gently sand it down to achieve a smooth finish. Remember to choose a filler that matches the color of the wood for seamless blending.
Restoring Loose Joints
Over time, joints on your side table can become loose or wobbly. Strengthen them by applying wood glue to the affected areas and clamping them together until dry. This simple technique will ensure the stability and longevity of your side table.
Treating Watermarks and Stains
Watermarks and stains can mar the beauty of your wooden side table. Treat these blemishes by gently sanding the affected areas to remove the discoloration. If the stains are stubborn, consider using specialized wood cleaners or oxalic acid-based solutions to restore the natural appeal of your table.
B. Refurbishing the Existing Finish
Stripping Old Paint or Varnish
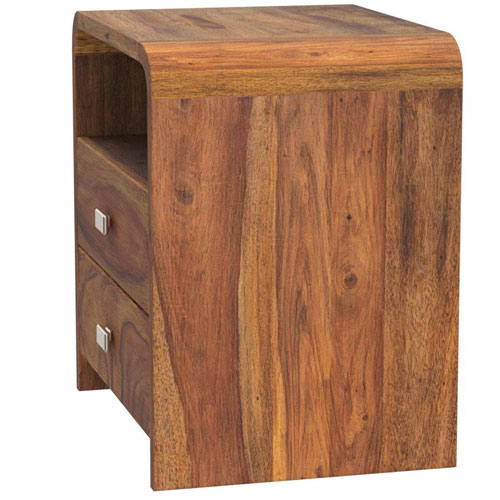
If your wooden side table has an old, worn-out finish, it’s time to strip it away and start fresh. Use a paint or varnish stripper following the manufacturer’s instructions. This process will expose the natural wood grain and provide a clean canvas for the next step.
Sanding Techniques for a Smooth Surface
To achieve a perfectly smooth surface, start with coarse-grit sandpaper to remove any remaining finish or imperfections. Gradually work your way up to finer-grit sandpaper for a polished look. Be sure to sand in the direction of the wood grain to avoid damaging the surface.
Applying Touch-ups for a Polished Look
After sanding, assess the need for touch-ups. Fill in any remaining gaps or cracks using wood filler. Once dried, sand the filled areas gently and apply a wood sealant or primer to ensure an even finish when you apply the final stain or paint.
IV. Complete Transformation of Wooden Side Tables
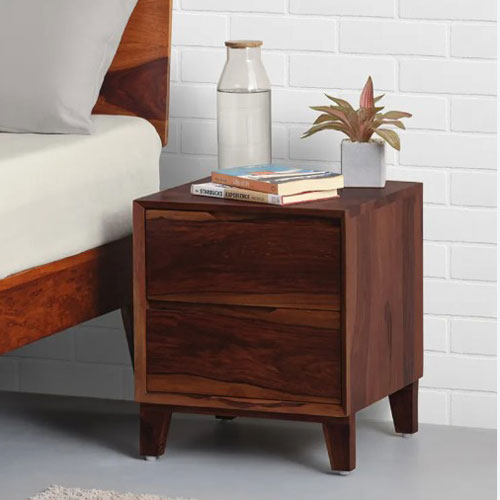
A. Deciding on a New Design
Exploring Different Styles and Trends
When it comes to a complete transformation, the sky’s the limit. Explore various design styles and current trends to find inspiration for your side table makeover. Whether you prefer a sleek and modern look or a rustic and vintage feel, let your imagination guide you in choosing the perfect design.
Considering Functionality and Personal Preferences
While focusing on aesthetics, also take into account the functionality needed from your side table. Assess your personal preferences and requirements, such as additional storage space or adjustable features. This will ensure that your transformed table not only looks beautiful but also serves its purpose effectively.
Creating a Mood Board for Inspiration
A mood board can be an excellent tool for visualizing your desired design direction. Collect images, color swatches, and material samples that resonate with your vision. By assembling these elements, you can create a cohesive and harmonious transformation plan for your side table.
B. Preparing the Wood for a New Finish
Sanding Techniques for Re-Staining
Before applying a new finish, prepare the wood surface by sanding it thoroughly. Using medium-grit sandpaper, create a smooth and uniform surface. This step ensures that the new stain will penetrate the wood evenly, resulting in a rich and polished appearance.
Filling in Gaps or Cracks
Inspect the wood for any gaps or cracks that may affect the final finish. Fill them using wood filler, ensuring a seamless and flawless appearance. Once dry, lightly sand the filled areas to create a level surface for the upcoming finish.
Properly Cleaning and Priming the Wood
Before applying the new finish, make sure to clean the wood surface to remove any dust or residue. Use a mild cleaner suitable for wood surfaces and wipe it down thoroughly. Once cleaned, apply a wood primer to enhance the adhesion of the new finish and ensure its longevity.
C. Applying a New Finish
Choosing the Appropriate Paint or Stain
Selecting the right paint or stain is crucial for achieving the desired transformation. Consider the overall design scheme and personal preferences while choosing the color and finish. Opt for high-quality and durable products that are specifically formulated for wooden surfaces.
Applying Paint or Stain Evenly
When applying the paint or stain, work in even strokes, following the direction of the wood grain. Apply multiple thin coats for a more polished and durable finish. Allow each coat to dry completely before applying the next to avoid smudging or unevenness.
Adding Protective Sealants for Durability
To protect your newly transformed side table from daily wear and tear, apply a protective sealant. This will enhance its durability and make it easier to clean. Choose a sealant suitable for your selected finish, such as polyurethane for painted surfaces or a clear varnish for stained surfaces.
V. Creative Techniques for Personalizing Your Side Table
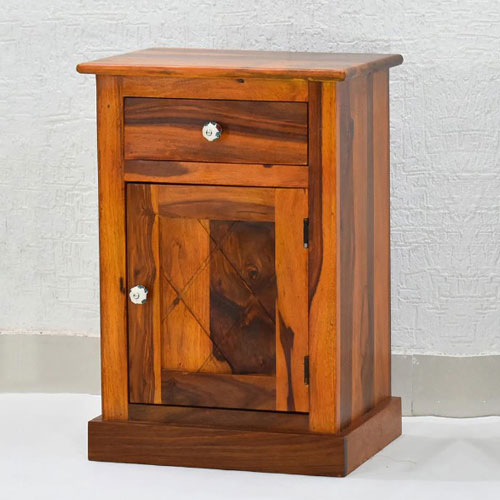
A. Incorporating Decorative Elements
Introducing Stencils or Decals
To add a touch of uniqueness to your wooden side table, consider using stencils or decals. They provide an opportunity to incorporate intricate patterns or designs onto the surface. By selecting patterns that complement your overall style, you can transform your side table into a true work of art.
Adding Decorative Hardware
Hardware plays a pivotal role in personalizing your side table. Experiment with various knobs, handles, or drawer pulls to enhance its visual appeal. Choose decorative hardware that reflects your style and complements the overall design concept of the table.
Experimenting with Mixed Media
Push the boundaries of creativity by incorporating mixed media elements. Combine wood with materials like metal, glass, or fabric to create a striking visual contrast. This unique approach will give your side table a one-of-a-kind personality that stands out in any room.
B. Transforming the Table’s Functionality
Incorporating Additional Storage Elements
Utilize the space beneath or within your wooden side table to incorporate additional storage elements. Consider adding shelves or baskets that blend seamlessly with the design. This practical touch will make your side table not only visually appealing but also highly functional.
Adding a Foldable Feature for Versatility
If space is minimal or you require flexibility in your living area, consider adding a foldable feature to your side table. This allows you to expand or collapse the table as needed, providing versatility and convenience. Choose hinges and mechanisms that are sturdy and built to withstand frequent folding and unfolding.
Customizing the Table Height and Dimensions
To cater to your specific needs, you can customize the height and dimensions of your side table. Adjust its size to fit perfectly within your space and ensure optimum functionality. With the help of a skilled carpenter or DIY tools, you can create a table that perfectly complements your lifestyle.
VI. Maintenance Tips for Long-lasting Results
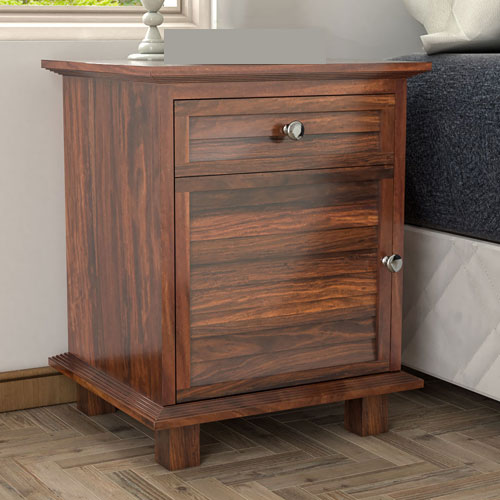
A. Proper Cleaning and Upkeep
Choosing the Right Cleaning Products
To maintain the beauty of your transformed wooden side table, it is essential to use appropriate cleaning products. Avoid harsh chemicals that can damage the finish or wood surface. Instead, opt for mild wood cleaners or natural solutions like vinegar and water for regular cleaning.
Techniques for Removing Stains or Marks
Inevitably, stains or marks may appear on your side table over time. Act promptly to address them by using specialized wood cleaners or gently sanding the affected areas. Regularly inspect your table and treat any stains or marks to ensure long-lasting beauty.
The Regular Maintenance Schedule for Preservation
Establish a regular maintenance schedule to keep your side table in optimal condition. Schedule routine cleaning and inspections to identify any issues or potential damages. This proactive approach will allow you to address them promptly and ensure the longevity of your transformed piece.
B. Handling Seasonal Changes
Protecting the Table From Humidity and Temperature Fluctuations
Wood is sensitive to changes in humidity and temperature, which can cause it to expand or contract. Protect your side table by placing it away from direct sunlight and heat sources. Also, avoid areas with excessive moisture or draughts to prevent warping or cracking.
Preventing Wood Drying or Warping
In dry seasons or climates, maintain optimal moisture levels by using a humidifier or placing a small bowl of water near the side table. This will prevent the wood from drying out and minimize the risk of warping or splitting.
VII. Summary
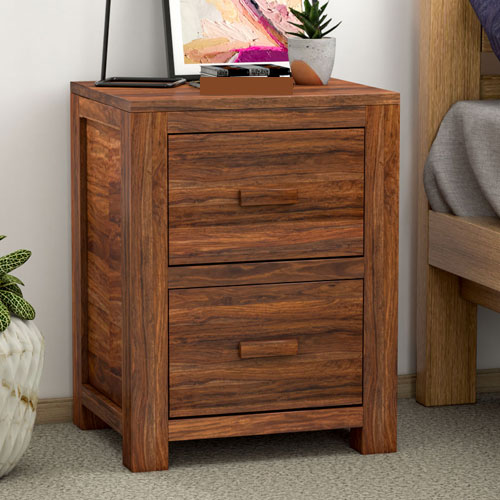
In summary, your wooden side table has the potential to undergo a remarkable transformation, giving it a fresh and revitalized appearance. By assessing its current state, choosing the right makeover approach, and implementing restoration or transformation techniques, you can breathe new life into this versatile piece of furniture. Personalizing it with creative touches and following proper maintenance tips will ensure its long-lasting beauty and functionality.
You May Also Like:
-
Crafting Comfort: Wooden Chair Design
-
Why Wooden Tables Are the Hottest Trend in Home Design
-
Panchkuian Furniture Market: The Hub of Exquisite Furniture and Home Decor
-
Elevate Your Lifestyle with Smart Wood Furniture Innovations
-
The Future of Interior Design: How Engineered Wood Furniture is Reshaping Homes
FAQs: Here are Answers to Some Commonly Asked Questions About Wooden Side Table Makeovers
How long does a wooden side table makeover typically take?
The duration of a wooden side table makeover depends on various factors, such as the extent of restoration or transformation, drying and setting times, and availability. As a general estimate, a comprehensive makeover can take anywhere from a few days to a couple of weeks.
Can any type of wood be transformed?
Certainly! Whether your side table is made of oak, pine, birch, or any other type of wood, it can be transformed with the right techniques and finishes. The key is to assess the wood’s condition and choose appropriate restoration or transformation methods accordingly.
Do I need professional expertise for a successful makeover?
While professional expertise can be beneficial, many side table makeovers can be accomplished as a DIY project. With careful planning, research, and following the outlined techniques, you can achieve remarkable results on your own. However, if you lack the confidence or skill, seeking professional help is always an option.
What are some cost-effective makeover ideas?
If you’re working with a limited budget, there are several cost-effective makeover ideas for your wooden side table. These include repainting with low-cost, high-quality paint, utilizing affordable decorative elements, or exploring DIY techniques such as decoupage or fabric covering.
How often should I maintain my side table?
Regular maintenance is essential for preserving the beauty and functionality of your side table. Establish a routine of gentle cleaning, periodic inspections, and addressing any issues promptly. How often you perform maintenance will depend on factors such as the environment, usage, and wear and tear. Aim to do it at least once every few months to ensure optimal results.
